In This Article
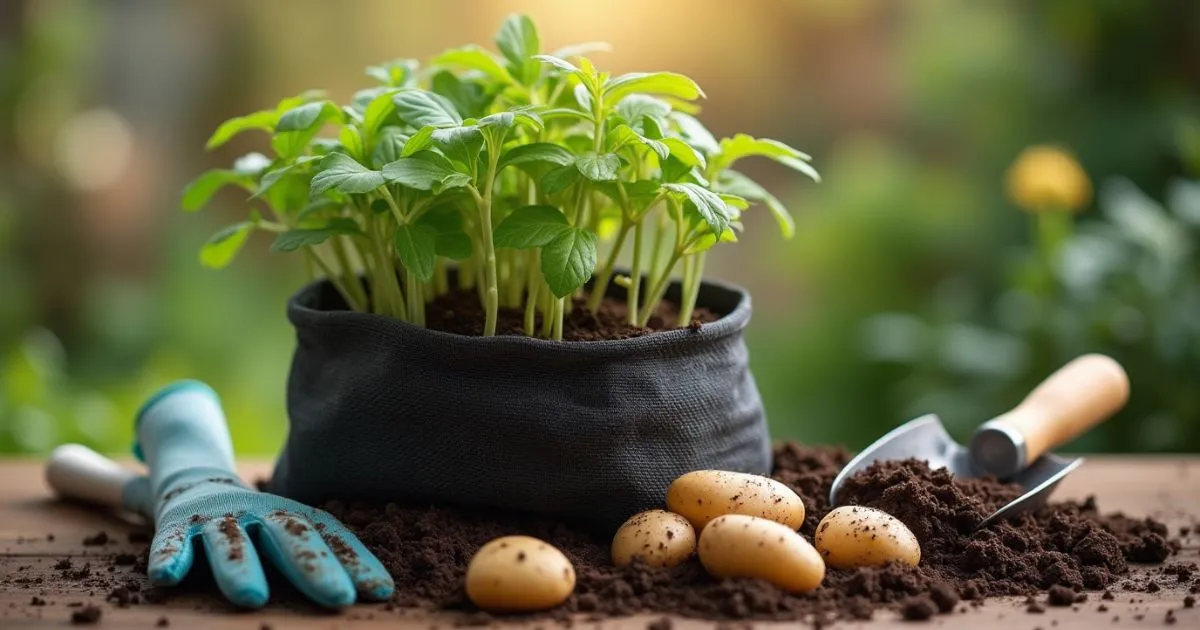
Planting potatoes in bags is a practical, space-saving way to enjoy homegrown vegetables, especially if you’re short on garden space or live in an apartment. By planting potatoes in bags, you can control the soil, drainage, and location, giving your potatoes an ideal environment to thrive. In this article, we’ll cover everything from selecting seed potatoes to harvesting, ensuring you enjoy a successful and satisfying potato harvest.
Why Grow Potatoes in Bags?
Growing potatoes in bags offers several unique advantages. Bag-grown potatoes are easier to manage, allowing for better pest control, more flexibility in placement, and the ability to move them indoors if temperatures drop unexpectedly. Additionally, potatoes grown in bags are easier to harvest since you don’t need to dig them out of the soil—simply tip the bag over and gather your crop.
What You Need to Get Started
To plant potatoes in bags, you’ll need a few basic supplies:
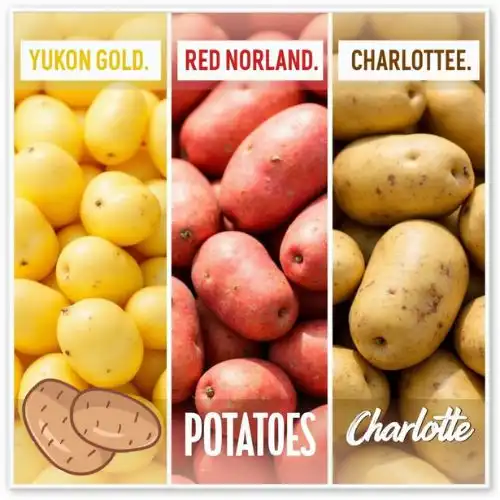
- Seed Potatoes: Choose certified seed potatoes to avoid diseases. Some popular choices for bag growing include Yukon Gold, Red Norland, and Charlotte.
- Growing Bag: Choose a sturdy bag with breathable material, like a fabric grow bag or a burlap sack, that has drainage holes at the bottom.
- Potting Soil: Use high-quality, well-draining potting soil. A vegetable-specific mix is ideal for added nutrients.
- Compost or Fertilizer: Add a balanced organic fertilizer or compost to enrich the soil and promote healthy growth.
- Watering Can: Regular watering is key, so have a can with a gentle spray setting to avoid disturbing the soil.


Step-by-Step Guide to Planting Potatoes in Bags
1. Selecting the Right Potato Variety
Choose varieties that do well in containers and bags, especially if you want quick results. Some of the best varieties for bag-growing include:
- Yukon Gold: Popular due to its taste described as buttery and its usability in many dishes.
- Red Norland: Fast-growing with smooth, red skins—ideal for salads and roasting.
- Charlotte: A waxy potato with excellent texture for boiling and steaming.
These early-season varieties mature faster, making them ideal for smaller containers and bag growth.
2. Preparing the Growing Bag
Setting up your grow bag correctly will ensure your potatoes have the best environment to thrive.
- Fill the Bag: Begin by adding about 4-6 inches of potting soil to the bottom of the bag.
- Add Fertilizer: Mix in a handful of compost or slow-release organic fertilizer. This will help the potatoes get an initial nutrient boost.
- Ensure Drainage: Make sure the bag has holes to allow excess water to drain out, preventing root rot and promoting healthy root development.
3. Planting the Potatoes in bags
Planting potatoes in bags is easy once you’ve got your setup ready:
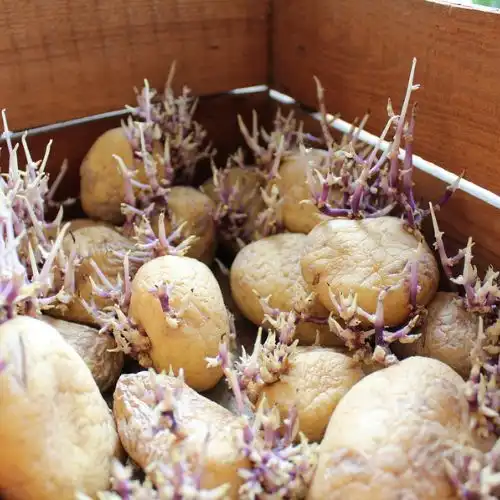
- Place Seed Potatoes: Position 2-3 seed potatoes on top of the soil in the bag. If your seed potatoes are large, you may have to portion them into smaller pieces with at least one growing point or “eye”.
- Cover with Soil: Add about 4 inches of soil over the seed potatoes, to cover them completely.
- Roll Down the Bag: Start with the sides of the bag rolled down to the soil level. As the plants grow, you’ll unroll the bag and add more soil to encourage vertical growth.
4. Watering and Fertilizing
Consistent watering is essential to prevent your potato plants from drying out or becoming waterlogged.
- Water Regularly: Check the moisture level of the soil every few days. When the top inch feels dry, water gently until the soil is moist but not soaking.
- Feed Occasionally: Every 3-4 weeks, add a bit of compost or an organic vegetable fertilizer. Avoid over-fertilizing, as too many nutrients can lead to excess foliage growth and fewer potatoes.
5. Harvesting Your Potatoes
The best part of planting potatoes in bags is harvesting! Here’s how to know when and how to do it:
- When to Harvest: Early-season varieties are usually ready 10-12 weeks after planting. You’ll know they’re ready when the plant’s foliage begins to yellow and die back.
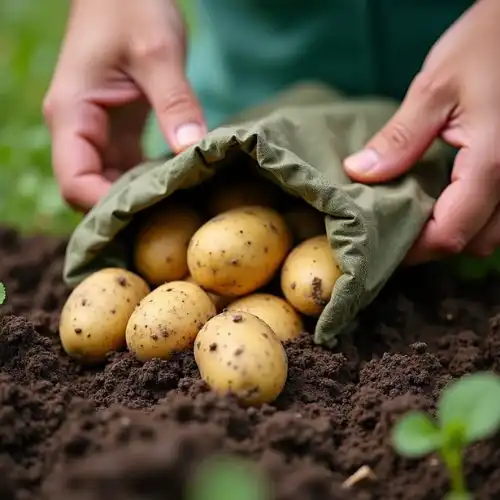
- How to Harvest: Tip the bag over and gently sift through the soil to collect your potatoes. Be careful not to damage them with tools or by squeezing them too hard.
Common Mistakes and How to Avoid Them
While potatoes are generally easy to grow, there are a few common mistakes to watch for:
- Overwatering: Too much water can lead to rot. Water occasionally and wait until the top layer of the soil is completely dry before watering the plants again.
- Poor Drainage: Drainage holes are essential in preventing excess water buildup. If your bag doesn’t drain well, your potatoes might rot.
- Inadequate Soil Depth: Potatoes need to be “hilled” or covered with additional soil as they grow. This encourages the development of more tubers along the stem.
Benefits of Growing Potatoes in Bags
Planting potatoes in bags has some standout benefits:
- Space Efficiency: This method is perfect for small spaces, patios, and balconies.
- Pest Control: Growing in bags helps prevent pests like slugs from reaching your potatoes.
- Flexible Positioning: You can easily move bags to capture optimal sunlight or protect plants from bad weather.
- Effortless Harvesting: Instead of digging, you can simply empty the bag to reveal your potatoes.
FAQs
How many potatoes do you get from a grow bag?
well-maintained grow bag can yield 5-10 pounds of potatoes, depending on the variety, bag size, and growing conditions. This yield varies, so factors like soil quality and watering can influence the outcome.
How many seed potatoes should I plant per bag?
Typically, 2-3 seed potatoes are sufficient for a standard-sized grow bag. Crowding can lead to smaller potatoes, so avoid planting too many.
Can I reuse the soil after harvesting?
It’s best to replace the soil to avoid soil-borne diseases and nutrient depletion. Fresh soil ensures your next crop will have the nutrients it needs.
In case I don’t have a “potato bag”?
Any container with good drainage will work, as long as it’s at least 18 inches deep. Fabric bags, old buckets with holes, or large pots can serve as excellent potato-growing containers.
When should I water my potato plants?
Potatoes need consistent moisture but can suffer from overwatering. Water whenever the top inch of soil feels dry, usually every 3-5 days, depending on the weather and soil.
What are some ideal varieties for planting potatoes in bags?
Yukon Gold, Red Norland, and Charlotte are great choices for bag-growing due to their quick growth and manageable size.
Final Thoughts on Potato Bag Planting
Growing potatoes in bags is an exciting, convenient way to enjoy fresh vegetables—even with limited space. With a few supplies and some patience, you can experience the satisfaction of digging into fresh, homegrown potatoes right from your own “bag garden.” Whether you’re a beginner or an experienced gardener, bag-growing offers a rewarding project with a high success rate. Give it a try and enjoy your tasty, home-grown potatoes in as little as 10-12 weeks!

